I just love love love roses! They are beautiful, they smell wonderful, and I learned they taste great!
My mother found this recipe in a really old Ukrainian cookbook that she brought with her from Ukraine. It’s a fragrant and delicate preserve with four simple ingredients. It’s really easy to make. Give it a chance and you’ll be surprised at how delicious roses can be.
Ingredients:
1 Cup rose petals
*For me it was about 11 roses, make sure to press down or squish the petals down so it’s truly 1 cup. They also need to be organic, home grown, fragrant roses. The long stemmed roses from the store will not work.
2 Cups sugar
Juice of 1/2 large lemon
1 Cup water
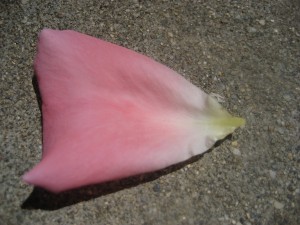
Remove the petals from the rose. I found that my moms roses had a few pincher bugs hiding inside. DO NOT COOK WITH BUGS. I found that shaking them out did the trick. Once I took off the petals I examined each one to make sure it did not have any defects or bugs on it. After 11 roses I finally had my 1 cup.
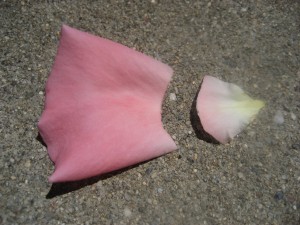
I also had a few rejects.
Remove the yellow end or the part where the rose petal connects to the flower.
Wash the rose petals with water.
Combine water with sugar in a medium sauce pan. Turn the burner to medium high heat. Stir frequently until the sugar is completely dissolved. The water will become clear. Add lemon juice and stir.
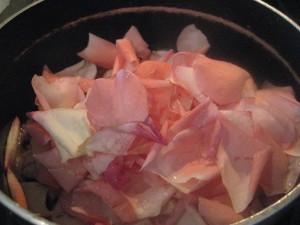
Add all of the rose petals and lower the heat to low.
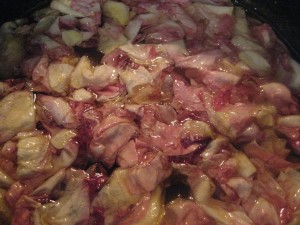
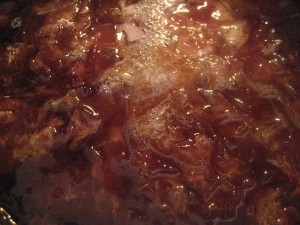
Le the rose petal water come to a slow boil. The rose petals will slowly start to become clear.
Stir frequently. Cook for 1 hour.
I cooked on low heat for about 1 hour 15 minutes and that extra 15 minutes made the rose petals more tender and the preserve thicker. If you have the patience use that extra 15 minutes.
Rose petals will become clear and sauce will be thick. Don’t worry if you see some color from the rose petals. Even when you place them in your jar it will continue cooking.
Because I knew that my jar will be empty within a week (and it was), I didn’t take any extra measures with jarring my preserve. I simply transferred from saucepan to jar with a table-spoon and closed it until the preserve cooled. Of course I managed to get some in my mouth and burn my tounge (it was worth it).
It is so delicious. It works great with slices of baguette or french bread or toast. Or if you’re like me I just ate by the spoonful.
Oh sooo good!


![IMG_4538[1]](https://wannaberussianfood.files.wordpress.com/2011/05/img_45381-e1306536880270.jpg?w=225&h=300)


